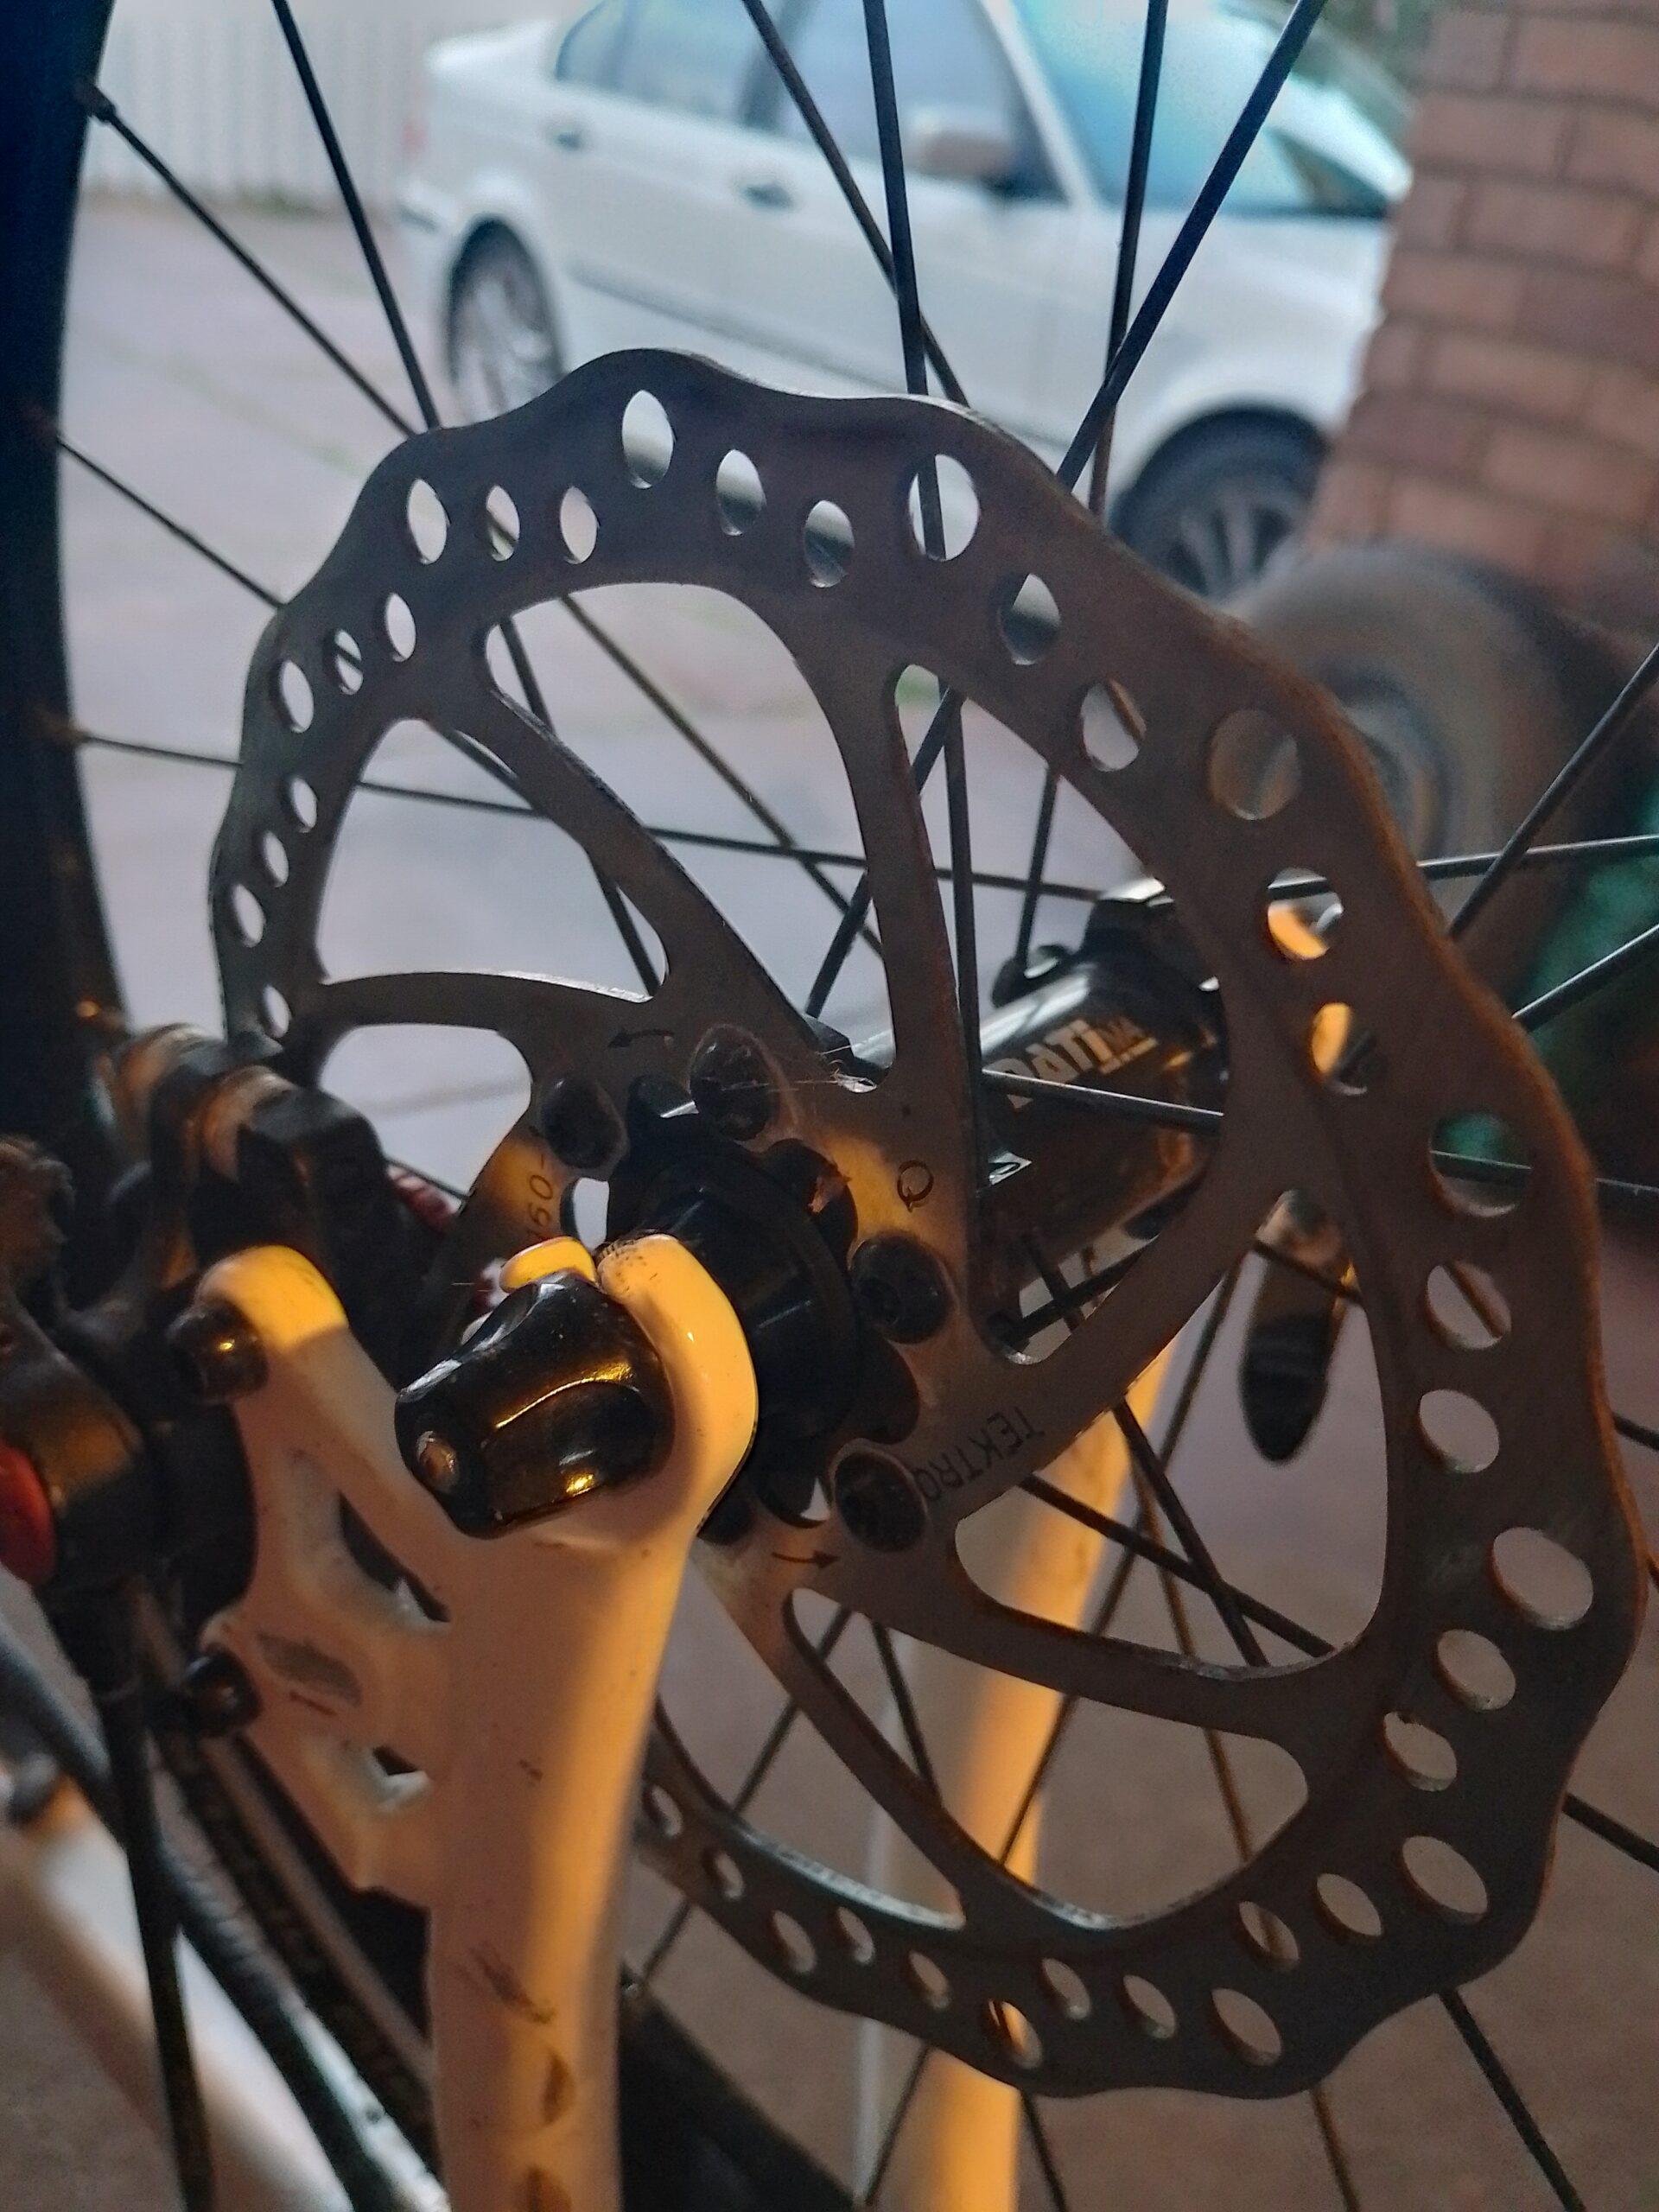
Bleeding your bicycle disc brakes is a process that removes air bubbles from the brake system, ensuring optimal brake performance. It’s typically necessary for hydraulic disc brakes, as air bubbles can cause sponginess or reduced braking power. Keep in mind that the exact procedure may vary depending on the brake brand and model, so always refer to the manufacturer’s instructions for your specific brakes. Below is a general guide on how to bleed hydraulic bicycle disc brakes:
Materials you’ll need:
- Bleed kit (usually includes syringes, tubing, and necessary fittings)
- Brake fluid compatible with your brakes (e.g., DOT fluid or mineral oil)
- 2.5mm and 4mm Allen keys (or other appropriate tools for your brake system)
- Rubber gloves
- Clean rag or paper towels
Step-by-step process:
- Prepare your workspace: Find a clean and well-ventilated area to work on your bike. Lay down a mat or some old newspapers to protect the surface.
- Remove the wheel: Take the wheel out of the bike to have better access to the caliper and brake lever.
- Position the bike: Position the bike so that the brake lever is higher than the caliper. This will help air bubbles move toward the lever during the bleeding process.
- Locate the bleed ports: Most hydraulic brake systems have two bleed ports: one on the caliper and one on the brake lever.
- Attach the bleed kit: Connect the appropriate fittings from the bleed kit to the bleed ports on both the caliper and the brake lever.
- Prepare the syringe: Fill one syringe with fresh brake fluid. Ensure there are no air bubbles in the syringe.
- Expel old fluid: On some systems, you might need to remove a small amount of old brake fluid from the caliper and brake lever before proceeding.
- Bleed the caliper: Attach the syringe to the caliper bleed port and gently push the fluid up through the system towards the brake lever. This process helps remove any air bubbles present in the caliper.
- Bleed the brake lever: Disconnect the syringe from the caliper and attach it to the brake lever’s bleed port. Now, gently push the fluid from the lever end towards the caliper. This step removes any air bubbles in the brake lever and hose.
- Check for air bubbles: After bleeding both the caliper and lever, double-check for any remaining air bubbles in the system.
- Reinstall the wheel: Once you’re confident that the system is free of air bubbles, reinstall the wheel.
- Test the brakes: Before riding your bike, pump the brake lever a few times to make sure the brakes engage properly. Check for any signs of sponginess or inadequate braking performance.
If you’re unsure about bleeding your bike’s disc brakes, it’s always best to seek help from a professional bike mechanic or a local bike shop, such as Minstrel Cycles in Thornlie, to ensure the job is done correctly and safely.


